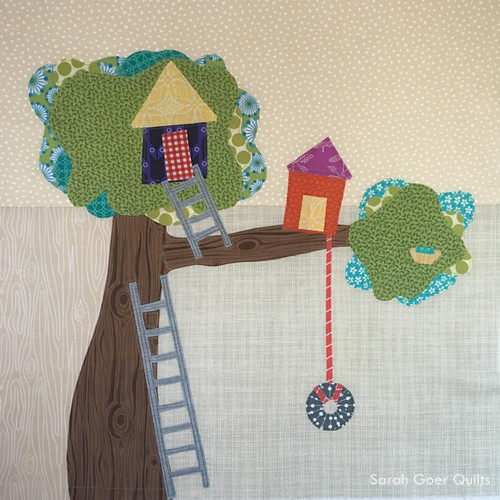
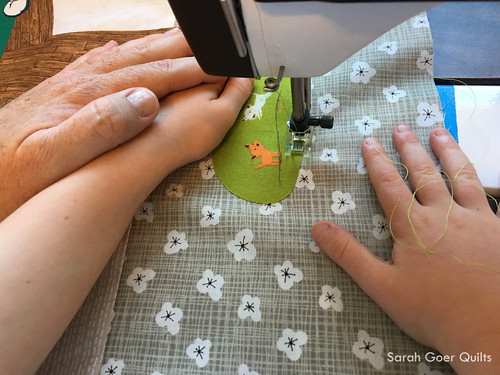
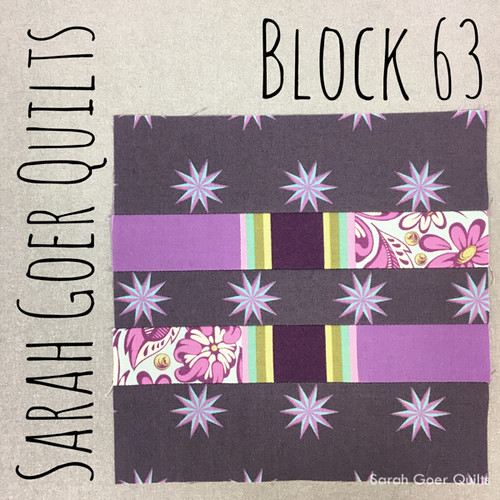
I've been working on my Tula City Sampler blocks. They have lots of precise cutting and piecing, some finished pieces as small as 1/2" x 1/2". This has led me to think about how I try to piece as precisely and accurately as possible. The first important step is to cut accurately and consistently. Here are some of my tips and tricks that help me with that step.
Give it a Good Press
I'm a pre-washer. I prefer to remove excess chemicals before I work with fabric, and I'd like to give the fabric a chance to do any shrinking, or bleeding, before I cut and sew with it. (Fabric that enters my house -- other than precuts -- gets prewashed before it goes into my stash.) Regardless of whether you pre-wash or not, for accurate cutting it's important that the fabric is nice and flat before cutting. Iron out wrinkles and fold lines. I prefer to use a hot iron with lots of steam. And I keep a small spritz bottle of water nearby for stubborn wrinkles.
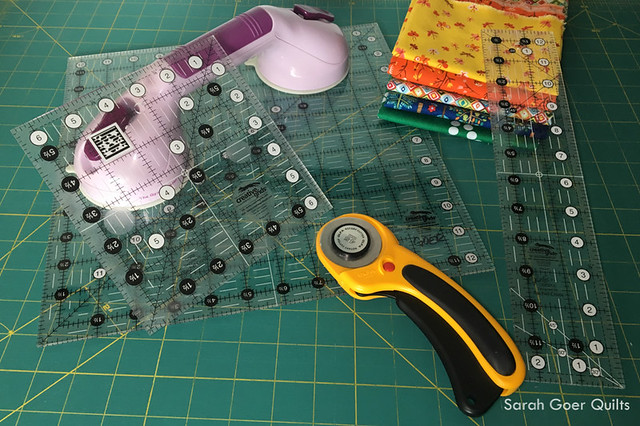
Use the Best Tools
Some of choosing what tools work best for you involves trial and error. Here are my favorites:
- Acrylic Rulers
I love Creative Grids rulers for a variety of reasons. With markings in white and black they are easy to read on light or dark fabric. The non-slip grips are helpful for keeping the ruler in place once pressure is applied. Also the solid lines can be used from one edge to measure 1" increments on the whole inch (1", 2", 3", etc.) and from the other edge to measure 1" increments on the half inch (1 1/2", 2 1/2", 3 1/2", etc.). {TIP: Use the same brand for all your rulers, to eliminate cutting discrepancies due to slight variances across brands.}
The 6 1/2" x 24 1/2" is a great, utility size to start with. I use the 6 1/2" x 6 1/2" and 2 1/2" x 12 1/2" often, for cutting small pieces of fabric or trimming HSTs. I also recommend a large square. The 12 1/2" x 12 1/2" ruler is great for general use and small enough to easily bring along to classes. It's also great for trimming 12" blocks. I bust out my largest square ruler for trimming up quilts before binding.
- Rotary Cutter
I've tried a variety and my primary rotary cutter is the Olfa 45mm Ergonomic Rotary Cutter. I have small children in my house and like the locking mechanism for when the blade is closed. It has a comfortable squeeze trigger handle (for left- or right-handed use) and the blade retracts when not in use. {TIP: Be sure to cut at a table or counter than is high enough that you don't have to lean over it and low-enough that you aren't hunching your shoulders while cutting.}
- Cutting Mat
I suggest buying the largest mat you have a flat surface for. My cutting table is just a smidge larger than the Olfa 24" by 36" mat, so that's the size I have. It is a self-healing mat. This soft surface is preferable for extending the life of your rotary blade. Be sure to keep your mat in a flat, cool location to avoid warping. The Olfa mats are double sided, with grid lines on one side and solid green on the other. {TIP: If you notice fibers accumulating on the mat, especially from cutting batting or fleece, an art gum eraser can be used to remove the fibers.}
- Ruler Handle
If you have difficulty applying even pressure to your ruler, especially for larger sized rulers, or if you just want to keep your fingers out of the way while cutting, consider a Gypsy Gripper attachable handle. The strong suction cups attach to most smooth rulers that are at least 4" wide. On larger rulers, you attach both ends, but the Gypsy Gripper can also be used on a smaller ruler (like the 6-1/2" square) by attaching just one suction.
Measure with Your Rulers
Whenever possible measure using the ruler, not using the lines on the mat. The reasoning is two-fold. You can use your mat lines to line up the edges of your fabric, but if you avoid always starting at the 0" line, you will not repeatedly cut on the same common measurement lines. For example, if you cut on the 4" line a lot then your mat will weaken at that point and reduce the life of your mat. I also find it more accurate to use ruler measurements. {TIP: When lining up your ruler for cutting, look down from above the ruler to ensure accuracy. If you are standing to the side it can be hard to tell if you are lined up at the proper measurement.}
Move Your Body, Not Your Fabric
This one is a little tricky, but if you can arrange your work space so that you can walk on three sides of your cutting table, you'll be able to walk around to cut from the other side when necessary. For example, after you cut off the right edge of yardage along the right side of your ruler to square up your fabric, leaving the fabric in place and walking around the table to cut your strips will result in more accurate cutting than lifting the fabric to turn it around. Another option would be to stay in place, but rotate your cutting mat on the table. I find this works better when you're using a smaller mat on a larger table.
I hope you find these tips helpful. Please comment below with your best tip or favorite tool for cutting fabric.
I'm linking up to Tips and Tutorials Tuesday.