Tag Archives: improv piecing

4 Comments

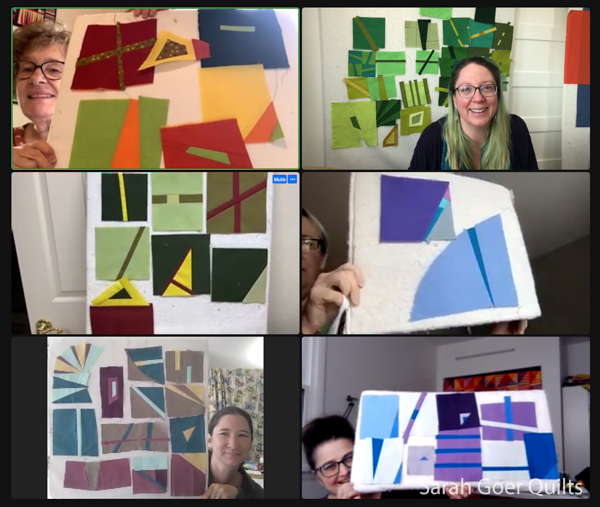
This month Carole asked us to create some improv slabs to use in half of our half rectangle triangles (HRTs) for her, paired with solid black. She provided a wide range of color options: red, blue, turquoise, aqua, yellow, yellow-orange, orange, purple, red-violet, green, and yellow-green. She gave us a variety of Kona and Bella Moda colors in these hues and asked us to avoid pastels and dark shades. I dove into my stash and pulled fabric from some of these colors.

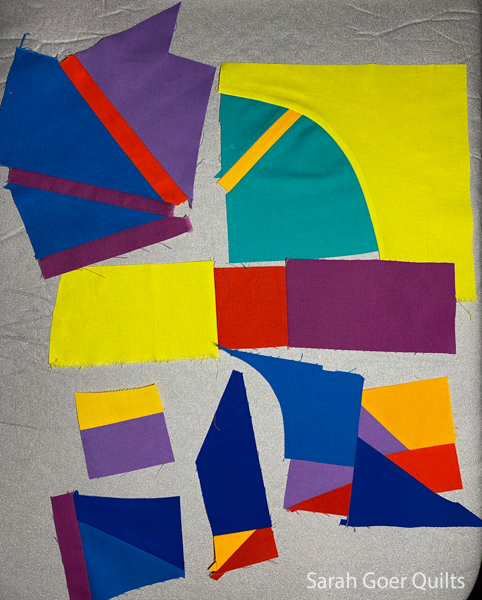
I was immediately drawn to Kona Acid Lime and aqua. In many cases I used small scraps and just worked with the shapes that I had. One scrap was the aqua curve. I did a slice and insert to add the golden yellow since the aqua was a large piece of fabric. Then I added the Acid Lime (shown in the upper right above). The strip beneath it was built to be added to that unit. Everything else shown here is just organically built with scraps the size and shape they were.

I slice and inserted the strip into my larger pieced curve section. This gave me a section large enough to cut the pieces I needed for a couple HRTs.

I ordered Latifah Saafir's new HuRTy 1 ruler to help me create my HRTs. Great tool! Highly recommend! These are the first two HRTs I created from the slab above. They are 4 1/2" x 8 1/2" unfinished.

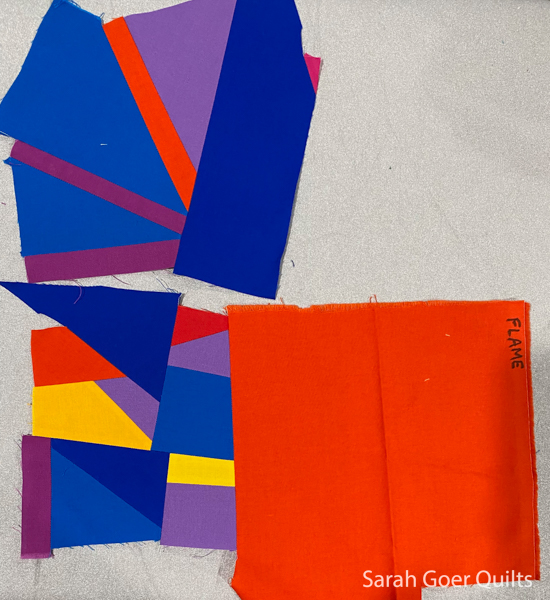
The pieced sections on the left all come from the remaining bits in the first photo above. Here I started adding on to the right side of each of the two sections so I would have the width I needed. (Pro-tip if you use solids: Label them in sharpie on the selvage edge so you know what to buy more of when you run low.)

I added yellow to the upper left (which ended up being unnecessary) and to the right side of the upper section. Then pieced the new blue section at the bottom to ensure I'd have the height I needed.

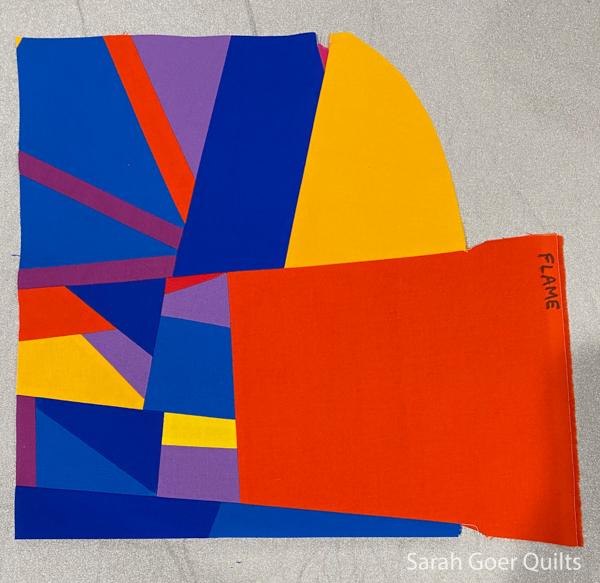
They I trimmed three sides so I could cut my pieces with the HuRTy ruler. See how that yellow in the upper left all but disappeared? And also, Carole asked for no pink, so that tiny pink triangle in the upper right needed to be avoided when I cut my pieces.

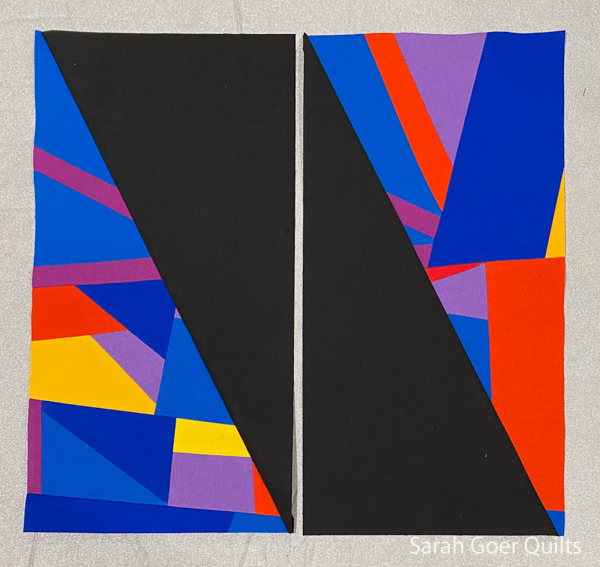
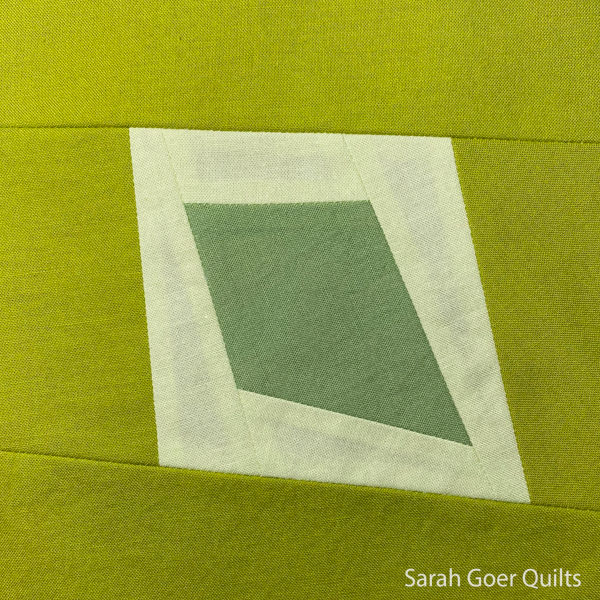
Tada! These each finish at 6 1/2" x 12 1/2" unfinished.

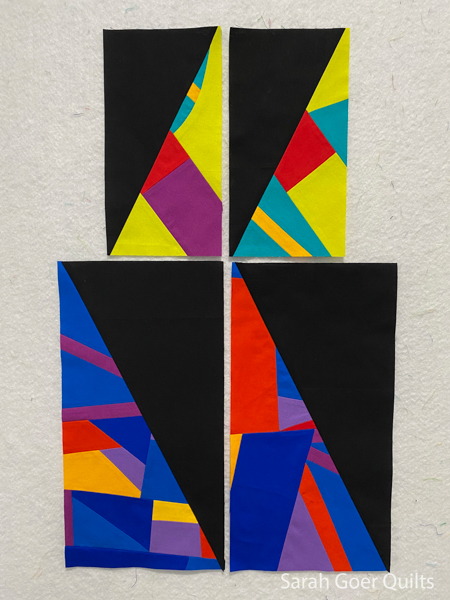
Here are the four blocks heading to Carole this month! It will be so fun to see the project come together.

The skills used in these blocks include concepts I teach in Building an Improv Toolbox and Creating a Scrappy Slab. I'm available for lectures and workshops for guild and group meetings, retreats, and other events in-person and on Zoom. And starting in 2023 I'll be offering occasional live Zoom workshops with open enrollment for individuals. Be sure you're on my newsletter list to be the first to hear about those.

I had a lovely time with Moonlight Quilters of Sonoma County today for 6 hours of Building an Improv Toolbox. This workshop is an opportunity to play. (You can join me for this workshop on March 29, 2023.)

I often forget to "take pictures" in a Zoom workshop. It's so different than being in the physical room with folks. Today I remembered to get a shot of our show and tell at the midpoint when we took a break for lunch. It's so fun for me to see the variety of colors people are working with and how the same prompts can result in so many unique outcomes!

Thanks for joining me in class today, MQSC!

Guilds and groups interested in having me teach should check out my teaching page.

10 Comments

I've been teaching All About Angles workshops since 2019. This project is actually the first quilt top that I pieced for myself in this style, way back before that time. I had selected the color palette, because these sunset colors called out to me and the pile of fabric hung out together on my shelf for quite some time before I cut into it to create this small quilt top.

Like many quilters, I've been wanting to finish up some of my WIPs. I participated in a 100 Day Project January 30 - May 10, free motion quilting for at least fifteen minutes a day. I prioritized finishing up quilt tops, including this one. I spent 33 days quilting this 24" x 19" quilt, meaning I spent well over 8 hours quilting it. I really enjoyed the process since I worked a bit at a time and wasn't hurrying to meet a deadline. This is important for me, because I am generally a procrastinator who is super motivated by a deadline, which can really limit the possibilities for the late stages of making a quilt. Can anyone relate?

I started by extending the diagonal lines from the piecing as well as reflecting them, continuing until I had divided the quilt into many areas of a variety of sizes. This step could have been done with a walking foot though I chose to free motion these lines. I marked my lines with a chalk pencil or disappearing marker.

Then I really had fun, choosing a different motif for each section, I started by echo quilting within the section before filling it in with the chosen motif. These motifs came from my usual FMQ toolbox as well as inspiration from Step-by-Step Texture Quilting by Christina Cameli (my newest quilt book) and The Ultimate Guide to Machine Quilting by Angela Walters and Christina Watson (affiliate links). Everything is quilted in 50wt Aurifil: Magenta (#2535), Red Orange (#2245), Bright Orange (#1133), and Medium Purple (#2545).

Pin for reference. Some of my motifs were very small patterns.

Sunset All About Angles was finished with a faced binding, which was a choice to further emphasize the quilting as the star.

My All About Angles class is available to guilds on Zoom. I teach a set of rules to create improv units that use the same angle, with no math or special tools. There are so many ways to utilize these units in a final composition. Please send your guild program chair to my teaching page for all the info. Thanks!


I've linked up to May's Favorite Finish linkup with Cheryl at Meadow Mist Designs.