
In July, Chris asked for blue and yellow blocks showing what summer represented for us.

My immediate thought was a hammock, because last summer my daughter and I spent many hours in the backyard hammock together reading. Eventually, I came around to making a book block for my second block. (Check back tomorrow for that block.)

The hammock was a tricky construction. It was created with improv piecing using smooth improv curves and slice and insert methods to put the frame in the right place. I used this reference photo of my backyard hammock (hello draught "lawn"!) as a guide for proportions and angles. I'm feeling quite pleased with the engineering feat of this block. Here's how I did it...

The grey strips for the frame may have been about 3/4" wide. I cut a bunch and laid them out in the orientation of the frame. I cut some blue 3/4" strips which would be needed to add onto the grey for some seams.

I cut my initial hammock piece freehand with a rotary cutter. This gave me a plan. Then I just had to figure out how to make it work to all go together.

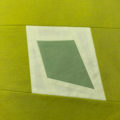
In order to add dimension to the fabric portion of the hammock I pieced a second, darker yellow onto my initial curve. You can see that I left lots fo space to trim my final shape for my hammock.
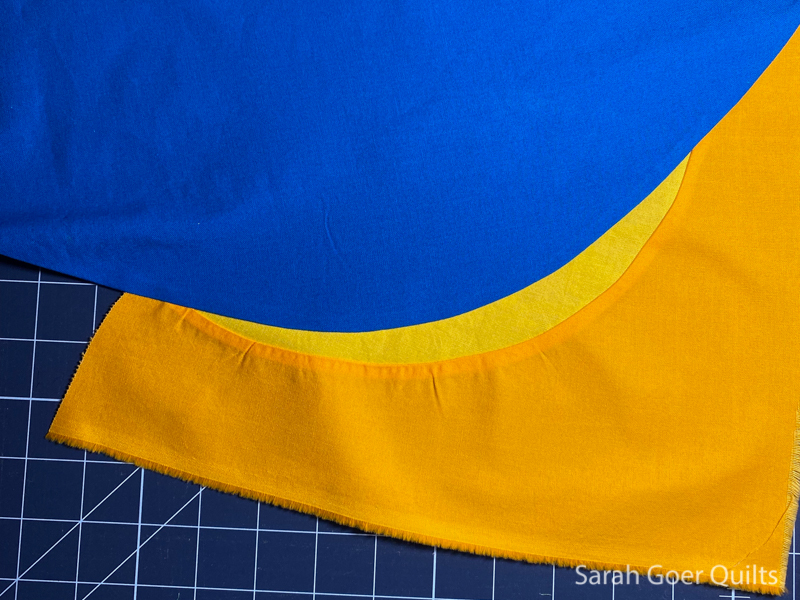
Then I pieced on a large piece of blue for the background above the hammock. When I have no idea what I'm doing I use large pieces, because it's usually easier to trim down than to add on.

Next up was starting to piece the frame. These were mostly done slice and insert style. I just eyeballed the length of each piece of the frame to approximate the proportions from my photo of my yard hammock.
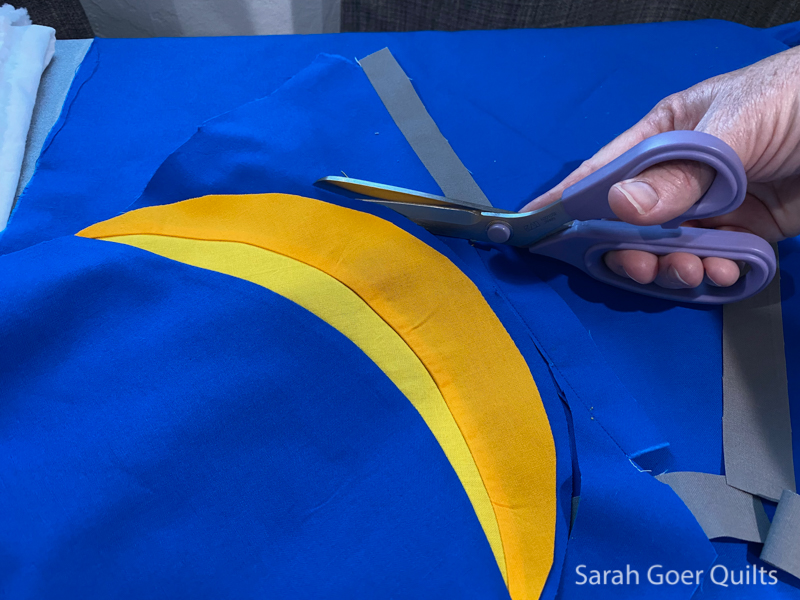
This was probably the trickiest seam. I had to piece in the blue background beneath the hammock, but one part of the frame gets pretty close. Here I'm using scissors to cut the same curve from my blue fabric to match the lower edge of the hammock.
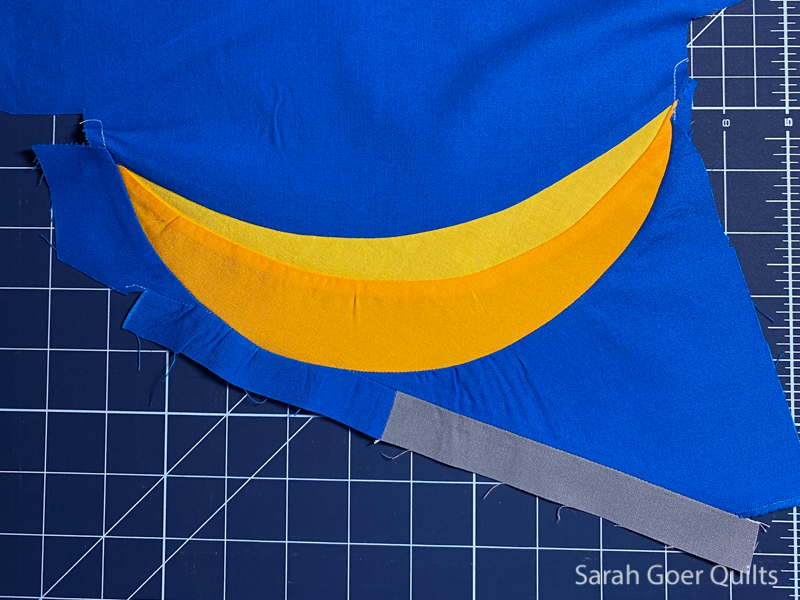
Sewing a curve that went across a seam made this tricky. Not perfect, but pretty good. This might be the first evidence that I was going to have some problems in the top corners. I chose to ignore that for now and keep working on the frame.

I pieced more frame in the lower right and was thinking about how to insert the frame between these two pieces. I think I realized I should have added blue onto the grey and that piece in the lower right had to be rebuilt.
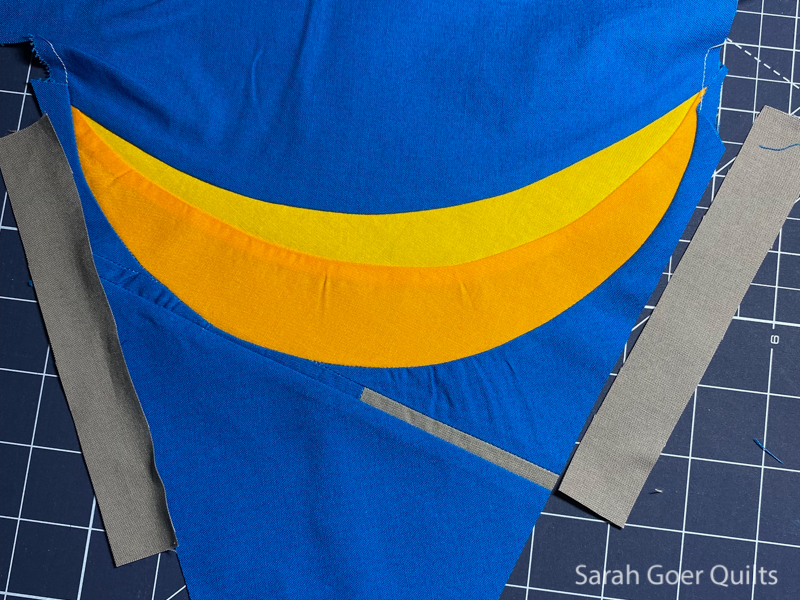
Auditioning grey strips for the length and angles needed for the side pieces of the frame.

Here I'd sewn on the base and side pieces of the frame, further exacerbating the problems in the upper corners. Again, ignoring that problem. I've also laid out the other three legs of the hammock. This helped me get the angles right.

Slice and insert to build the leg pieces.

Second leg attached. Again, I'm piecing on extra big pieces that I'll trim down.

Trimmed the lower left and right to continue the angle of the section above it.

Planning the slice and insert sections for the last two legs.

The hammock is built! But... I need to address those problem spots at the upper corners.

I lopped off the top corners at an angle that worked to not lose any of the hammock. My last two seams were to piece in background to fill those corners, nice and neatly.
The block finishes at around 12" square. I left it oversize for Chris to trim down as she put her quilt together.


Nancy @ Grace and Peace Quilting
Wow, what clever construction of a hammock!!! So cute, too, Sarah!!!
sarah
Post authorThank you, Nancy!
Melanie
Oh my, the block looks innocent enought and then I scroll through your construction.... Impressive!!!!!
sarah
Post authorHa ha. Thank you. They were really fun to make.